


Home
PVC Fittings

.png)


How to Choose the Right PVC Fitting
Start with pipe size and connection type. Every fitting is sized to the pipe’s nominal diameter (½″, ¾″, 1″ and up), and each end is either slip (socket, for solvent welding) or threaded (MPT/FPT). Use slip joints for permanent buried runs; use threaded ends or a union wherever you’ll want to take the line apart for service.
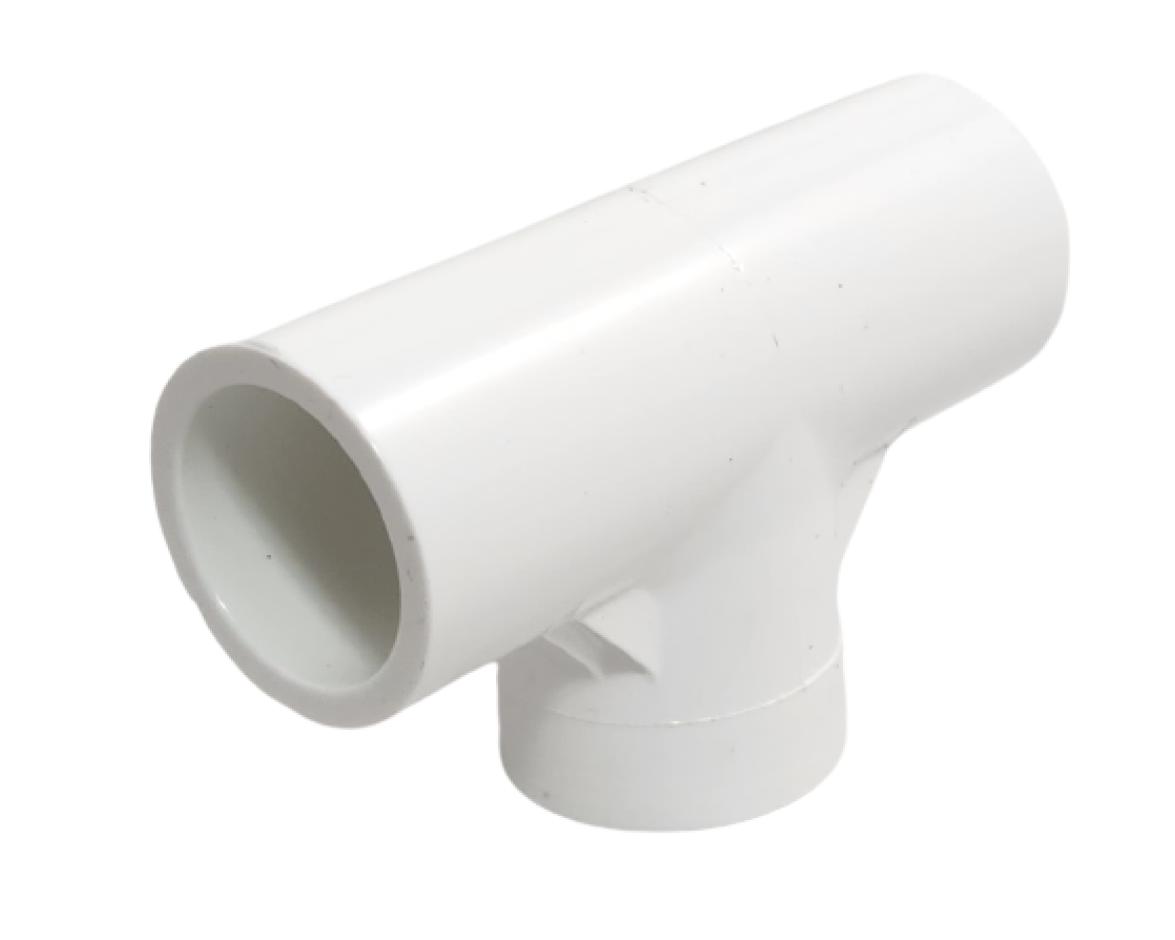
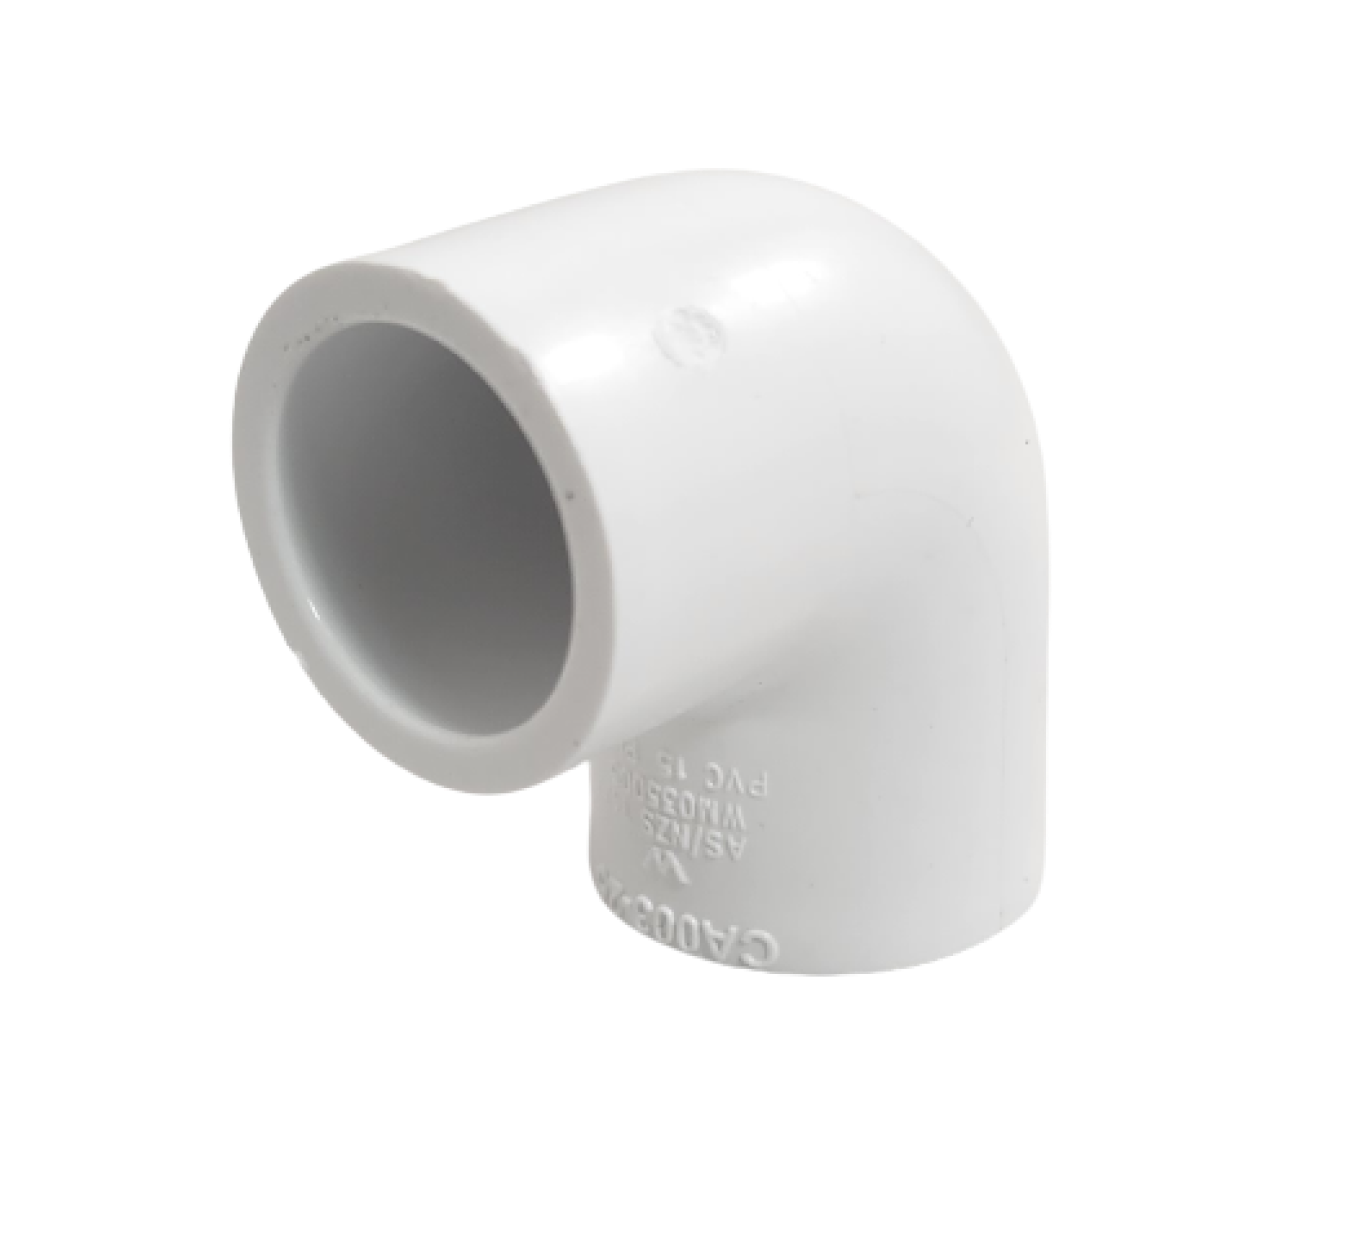
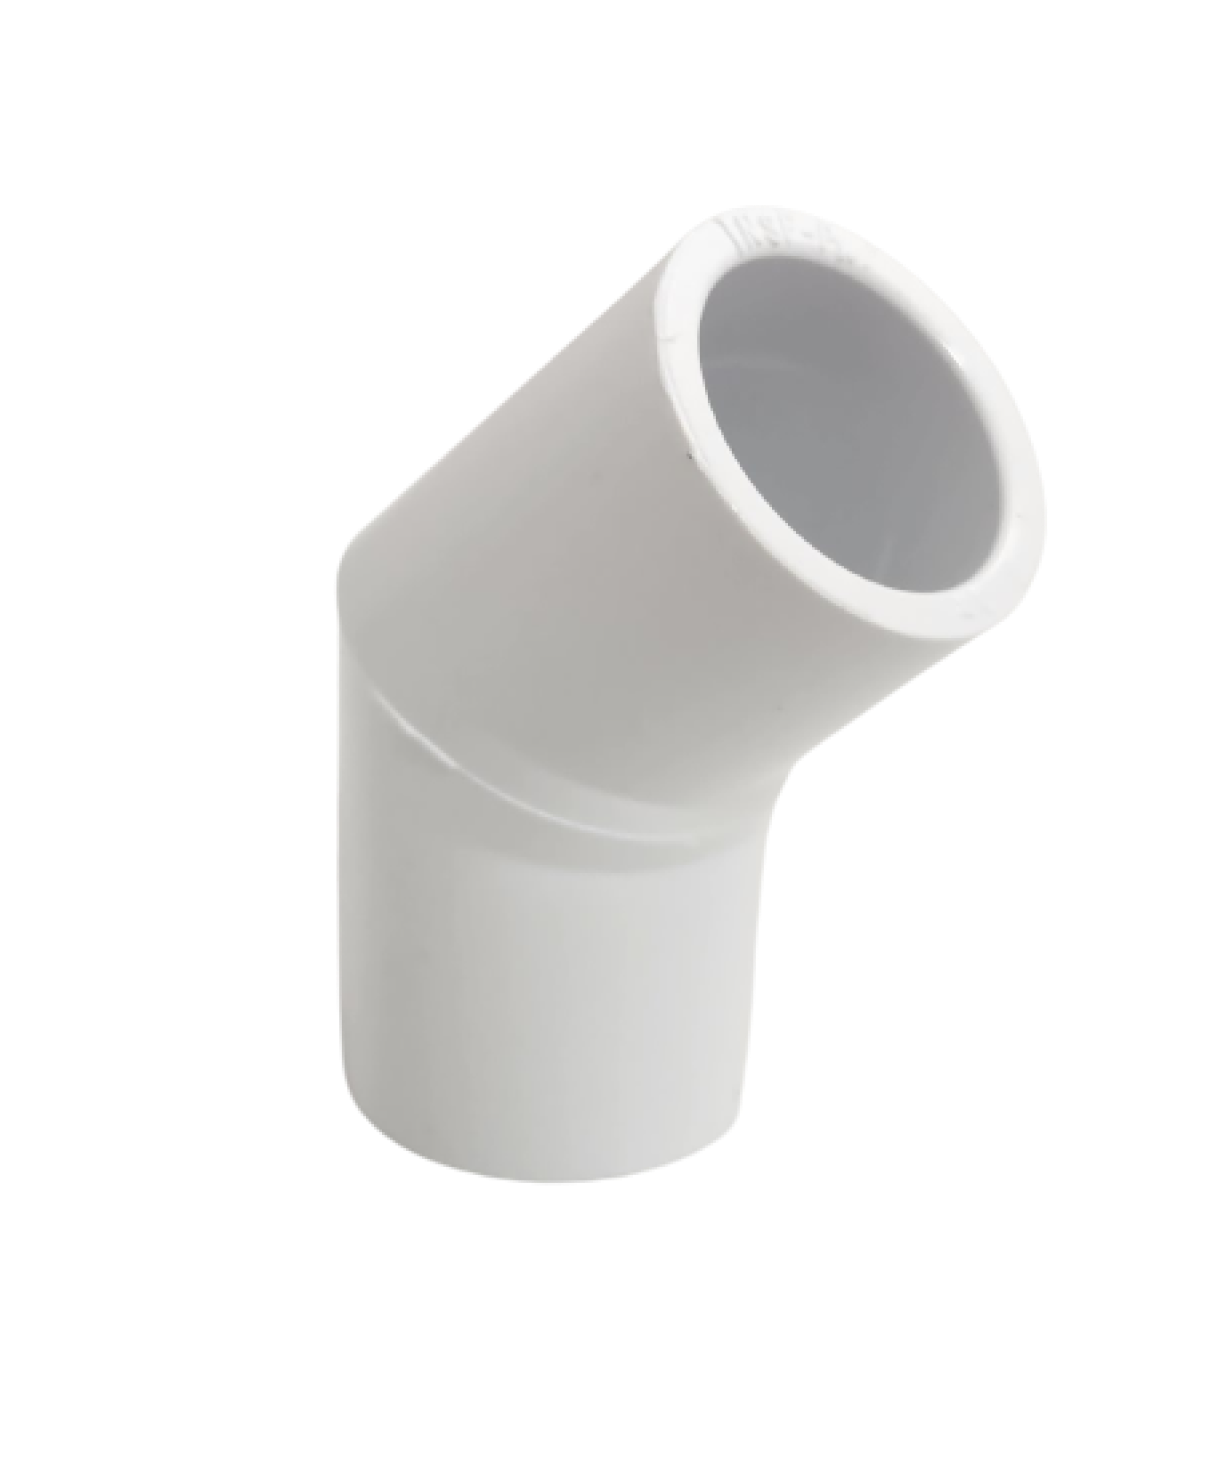
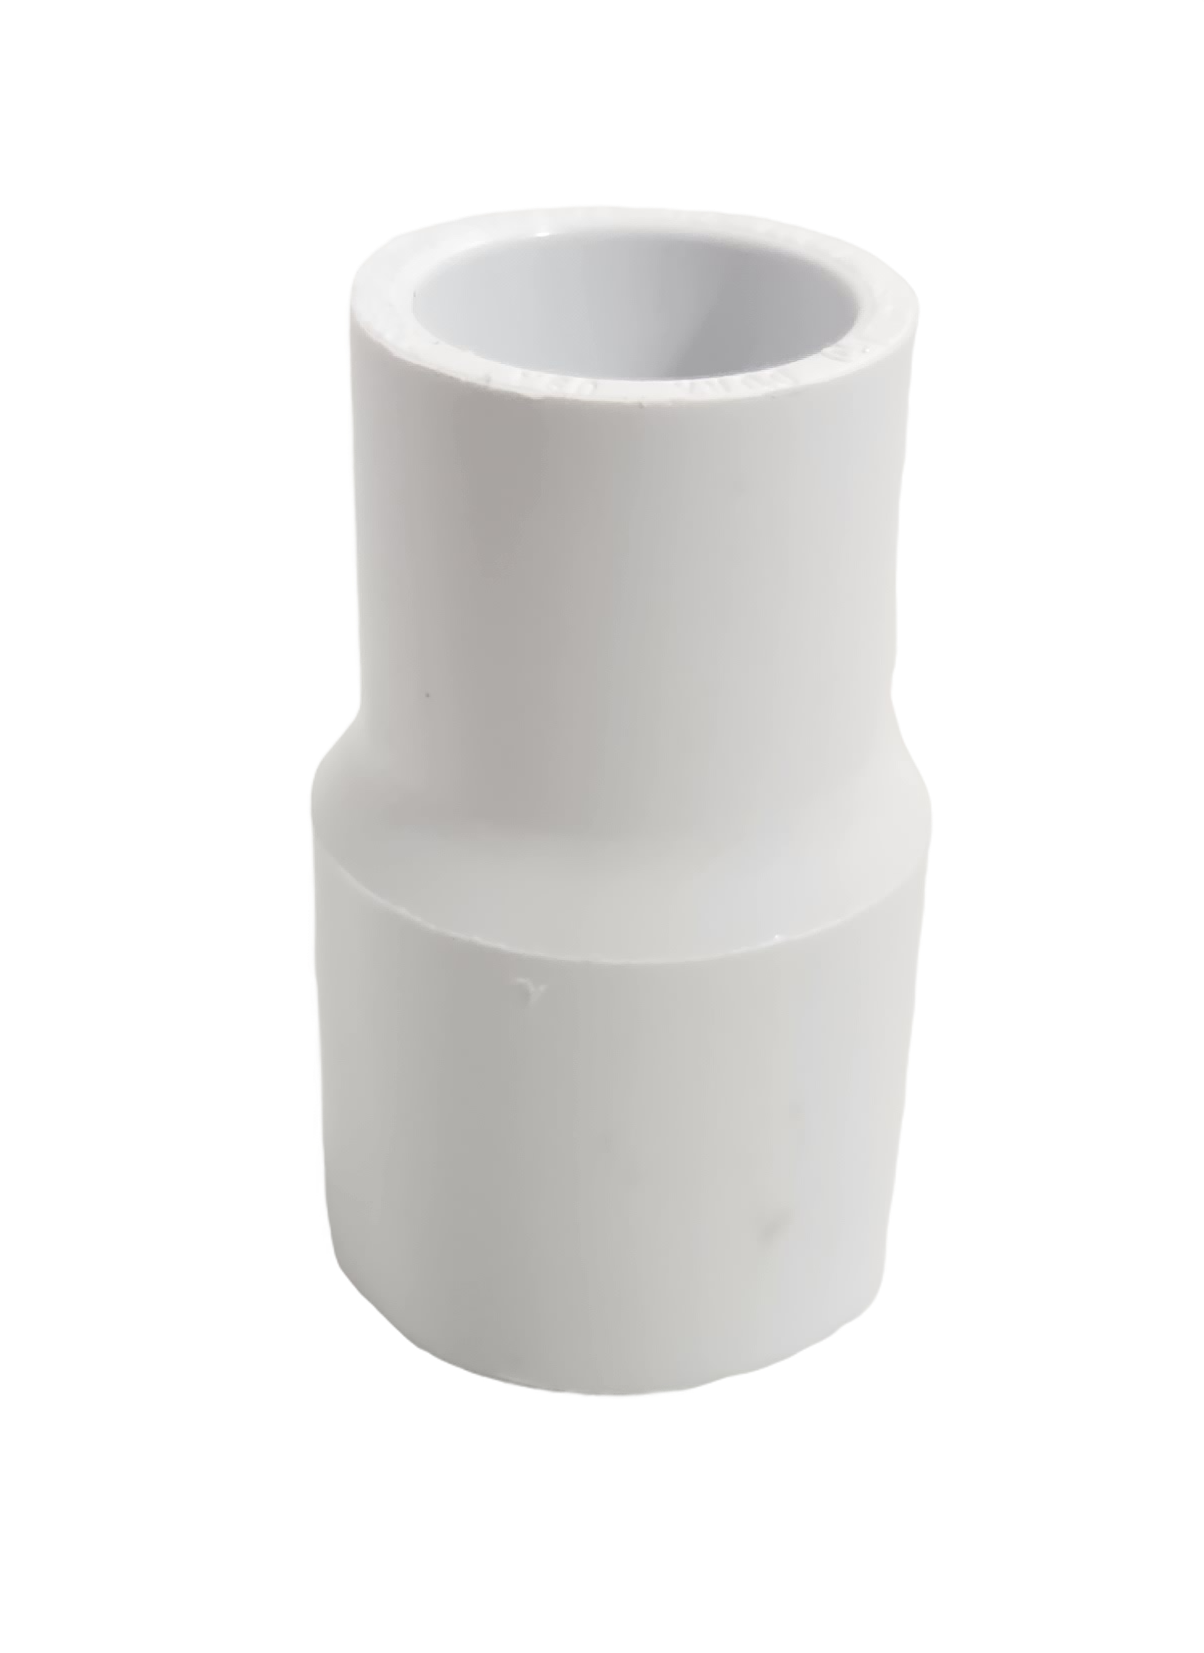
Then pick the fitting for the job: a tee to branch a line, a 90° or 45° elbow to change direction, a coupling to join two pipes in-line, a reducer coupling to step between sizes, and a cap to terminate a run. Solvent-weld slip joints with the proper primer and cement, and let them cure before you pressurize the line.
PVC Fittings FAQ
What is the difference between slip and threaded PVC fittings?
Slip (socket) fittings are solvent-welded with primer and cement for a permanent, leak-free joint. Threaded fittings screw together so they can be taken apart. Use them at equipment, transitions, or with a union where you will need to service the line.
Schedule 40 or Schedule 80: which do I need?
Schedule 40 (white) is the standard for most residential and light-commercial irrigation. Schedule 80 (gray) has a thicker wall for higher-pressure or above-ground runs. Match the fitting’s schedule to your pipe.
How do I size a PVC fitting?
Fittings are sized by the pipe’s nominal diameter, not the outside measurement. To join two different sizes, use a reducer coupling or a reducing tee rather than forcing a mismatched fit.
How do I glue PVC slip fittings?
Cut the pipe square and deburr it, dry-fit to check depth, then apply PVC primer followed by solvent cement to both surfaces, push together with a quarter turn, and hold a few seconds. Let the joint cure per the cement’s instructions before pressurizing.
Try these related searches


© Total Sprinkler All Right Reserved.
1223 N Hackberry St, San Antonio, TX 78202
Prices, specifications and images are subject to change without notice. Typographical or illustrative errors can occur. Manufacturer rebates, terms and expiration dates are subject to manufacturer printed forms.